
What Is Babka and How To Make It: Recipes and Tips
If you’re looking to tackle a fun new baking challenge, babka is a stunning option that can help you hone your baking skills. With a base similar to brioche, babka features soft, pillowy enriched dough swirled with fillings and topped with streusel or simple syrup, making this a great recipe to experiment with once you’ve developed a strong foundation with the basic recipe. Keep reading to learn more about the origins of babka as well as traditional babka techniques.


What is babka?
Babka is made with a sweetened enriched dough, meaning the yeasted dough includes enriching ingredients like milk, eggs and fat. The dough hook for your KitchenAid® stand mixer is key to developing a smooth, supple dough to serve as your babka base. The plush dough is marbled with a variety of sweet fillings, with chocolate and cinnamon being the most traditional flavors you’ll find in a perfectly plaited babka. The bread’s signature braid creates a stunning presentation, especially when finished with a glossy glaze of simple syrup to leave your loaf with a mirror-like shine.
tip
While butter is the most common fat used in babka recipes these days, giving loaves a super rich crumb, oil was most often used in traditional Jewish recipes to keep the recipe pareve, or without dairy or meat, resulting in a slightly drier crumb.
Why is it called babka?
Babka originated in Eastern Europe–while the exact origins aren’t known, it most likely has Polish and Ukrainian roots. Babka is an iconic Jewish baked good, and many varieties of the traditional babka recipe reflect an array of cultural, regional, and religious influences. The name babka comes from the name babcia, which means grandmother in Polish.
Traditional babka recipe
Yields
2 9-inch loaves
Ingredients
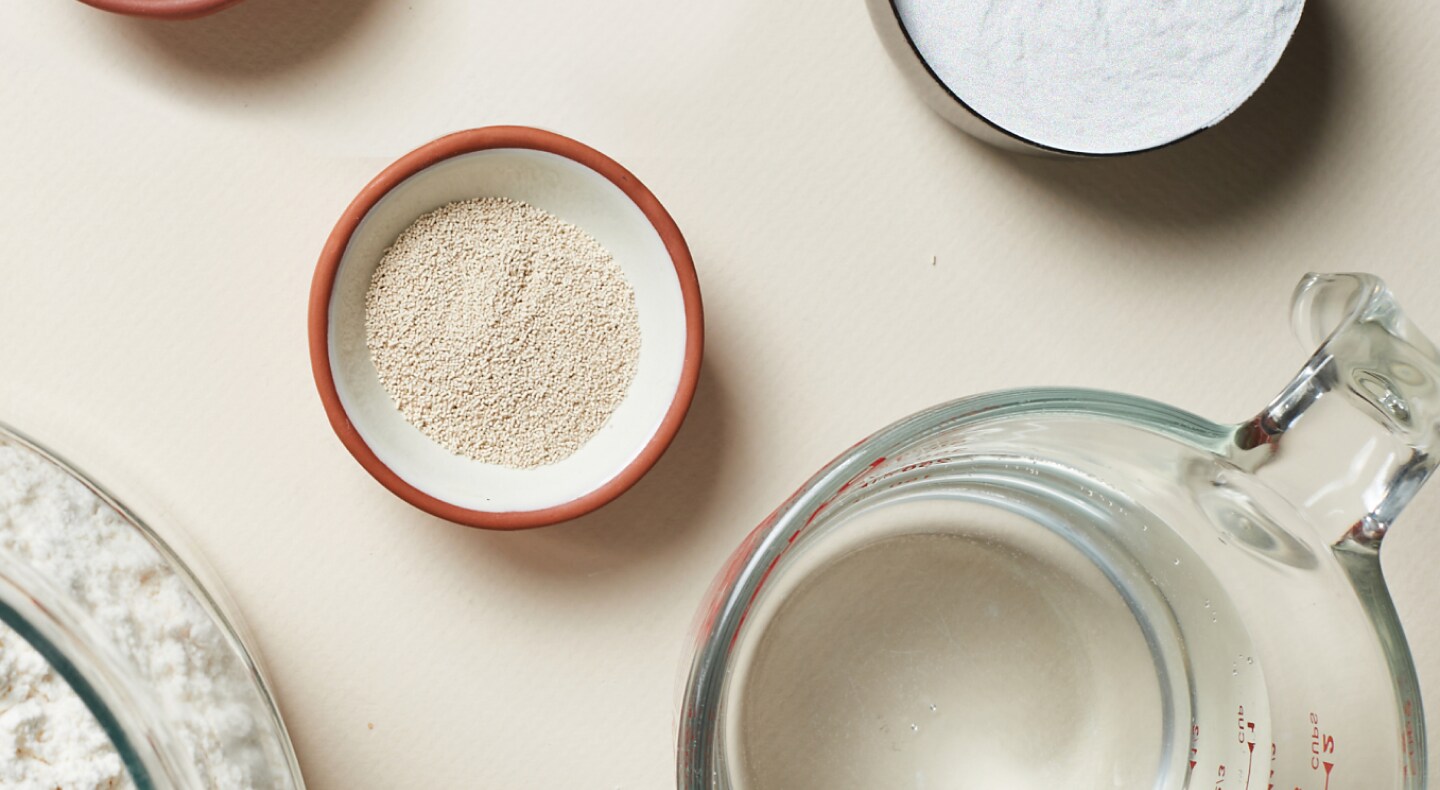
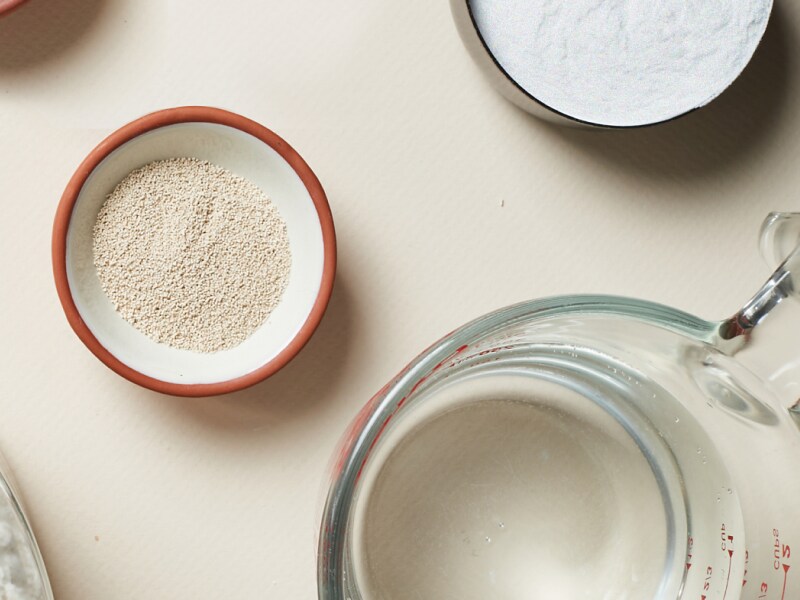
- All-purpose flour
- Active dry yeast
- Granulated sugar
- Salt
- Whole milk
- Eggs
- Unsalted butter, softened
- Vanilla (omit if making savory babka)
- Almond extract (omit if making savory babka)
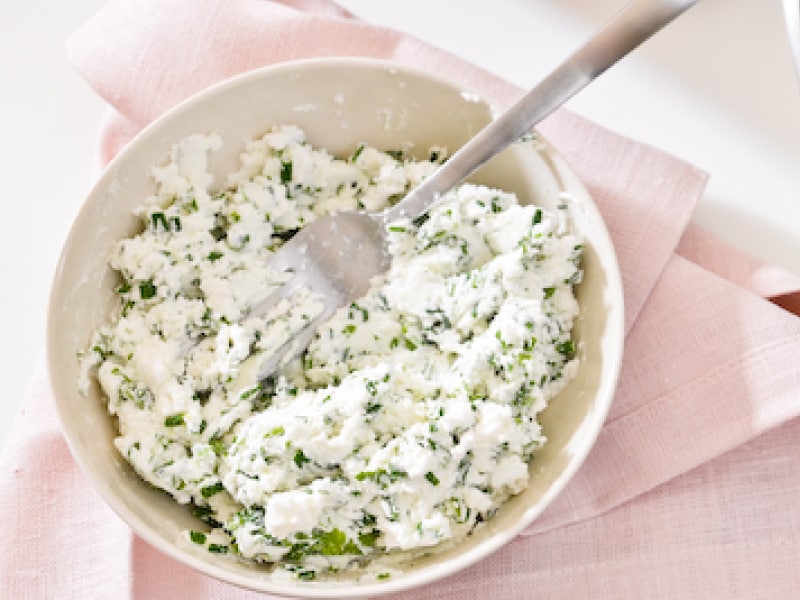
- Fillings, like cinnamon sugar or chocolate spread, or savory options like goat cheese and herbs
- Simple syrup or olive oil
Tools
- KitchenAid® stand mixer with dough hook
- Measuring cups
- Rolling pin
- Loaf pan
- Offset spatula
- Pastry brush
- Knife or pizza cutter
Prep TimE
About 2 hours, plus rise time (between 6-24 hours)
Bake Time
1 hour
Total Time
3 hours, plus rise time (between 6-24 hours)

Step 1: Make the Dough
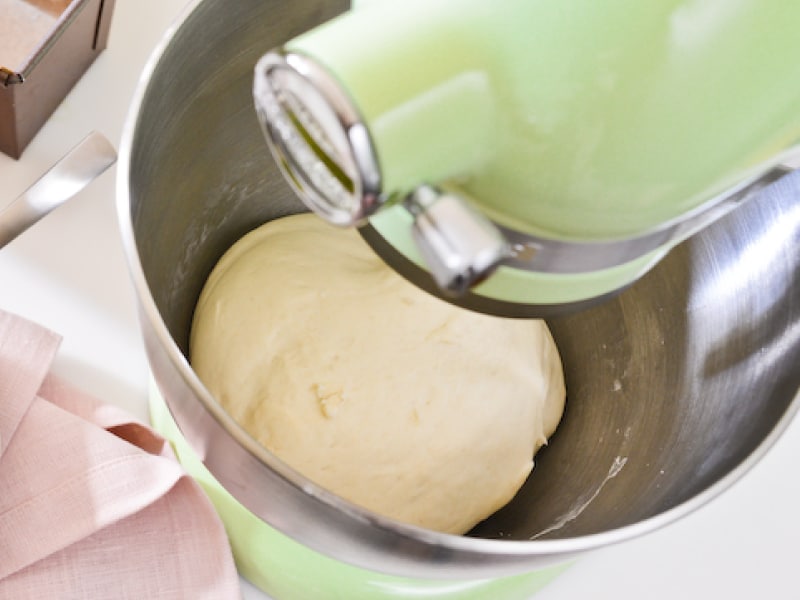
After proofing your yeast, add to dry ingredients, eggs and milk in your mixing bowl. Using the dough hook, mix on low to combine, raising the speed to medium once the mixture has formed a sticky dough. Mix until the dough no longer sticks to the sides of the bowl and appears shiny and elastic.
Step 2: First Rise
Place your dough in a lightly oiled bowl and cover tightly. Let rise until doubled in size.

Step 3: Roll the Dough
Gently punch down your risen dough. On a large, lightly floured surface, turn out your dough and form into a loose rectangle. Flour your rolling pin and roll the dough out to around ¼ inch thickness.
Step 4: Fill the Dough
Using an offset spatula, spread your filling on the dough, leaving just a thin border of dough bare. Top with additions like chocolate chips, nuts or dried fruit if you’re using them.
Step 5: Roll the Babka
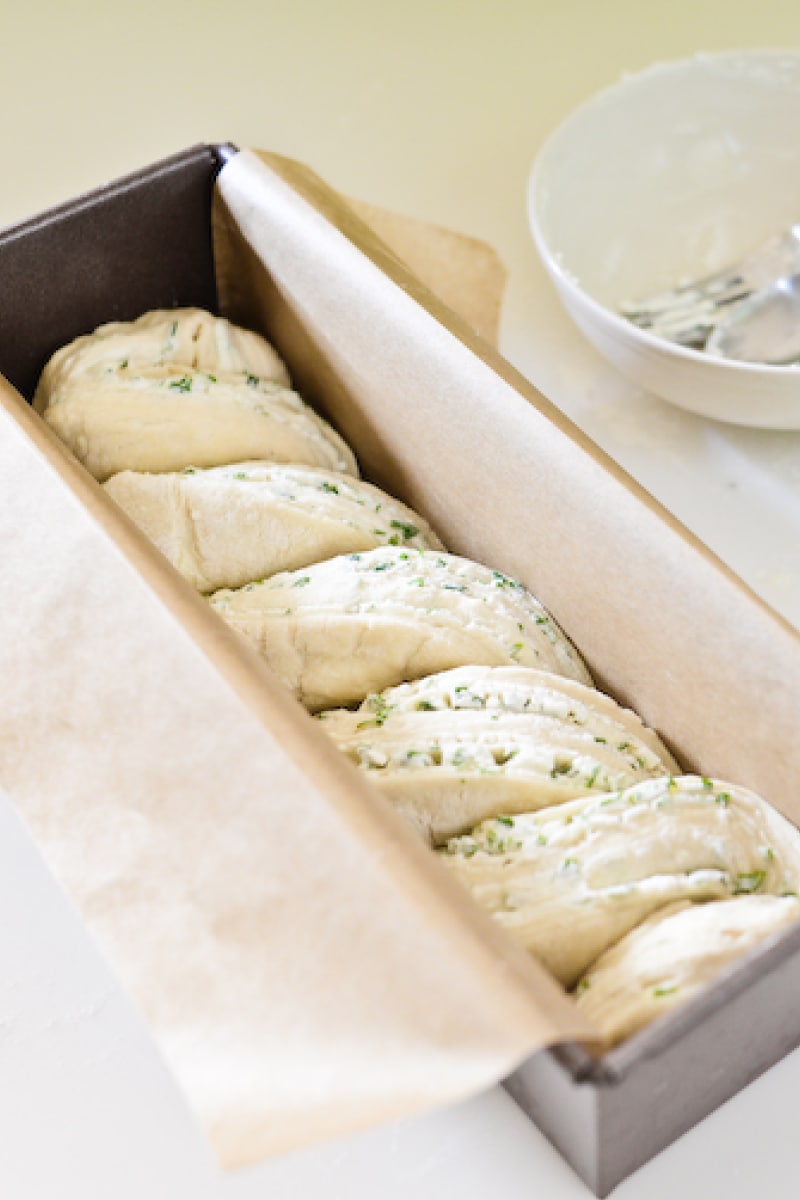
With the longest side facing you, begin tightly and gently rolling the dough into a roulade. Once formed, press down lightly on your loaf and seal the seam, placing the loaf seam-side down on your work surface. Place the roll on a cookie sheet or a tray, and place it in the freezer for 10 to 15 minutes to firm up.
Step 6: Braid the Babka
Using a serrated knife or pizza cutter, cut the loaf in half lengthwise, exposing the layers of filling and dough. Arrange each half cut-side up, aligning the dough pieces parallel to each other. Cross one piece over the other to form an X. Working with one end at a time, twist each end to create a spiral and lightly press to seal the ends. It’s possible that this part can get a bit messy.
Step 7: Second Rise
Place braided babka into a prepared loaf pan and let rise, covered, at room temperature until doubled in size. The babka should be billowing above the loaf pan after this rise.
Step 8: Bake the Babka
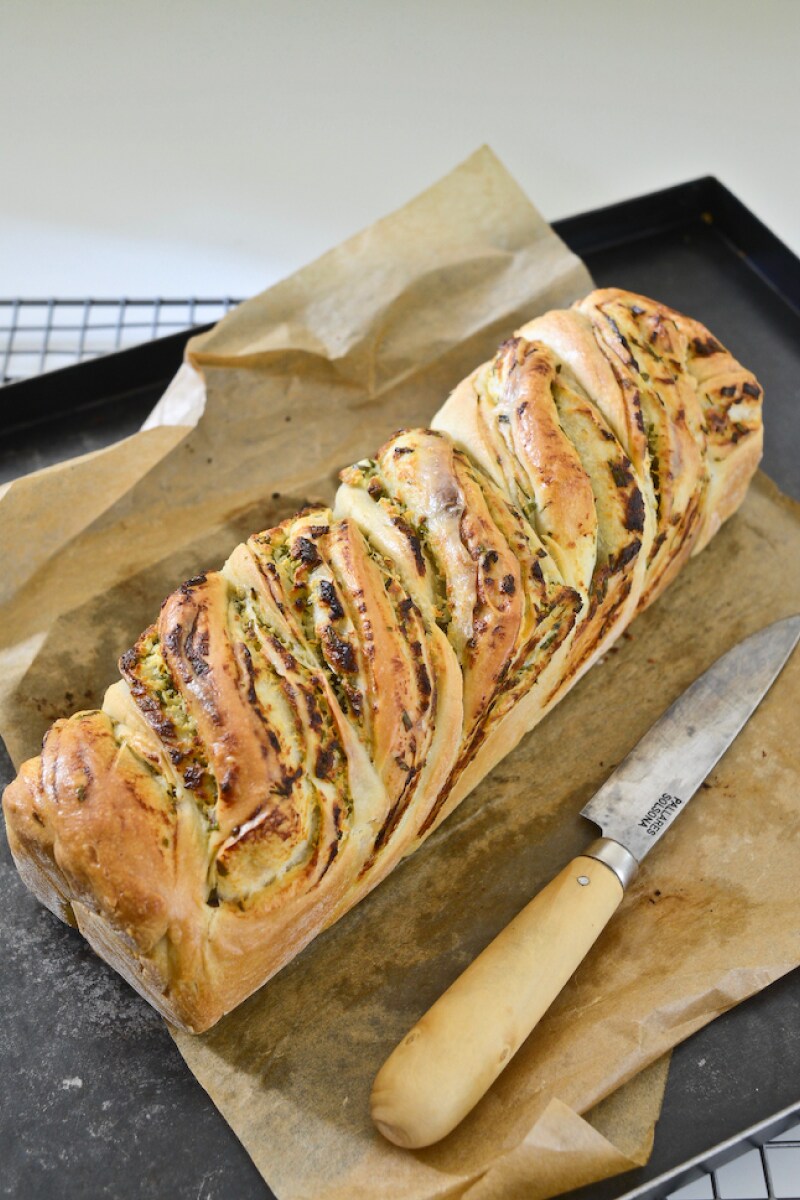
While the dough is rising, preheat your oven. Bake the babka for about 45-60 minutes. You’ll know it’s done when only a few moist crumbs are left on a toothpick or cake tester when inserted.

Step 9: Glaze and Serve
If creating a sweet babka, use a pastry brush to glaze your babka with simple syrup while still warm. If filled with savory ingredients, brush with olive oil instead. The syrup or oil will create a picture-perfect lustrous finish, transforming the babka into a truly decadent finished product. Slice or break the babka into pieces and serve.
Shop KitchenAid® Stand Mixers For Making Babka

What type of bread is babka?
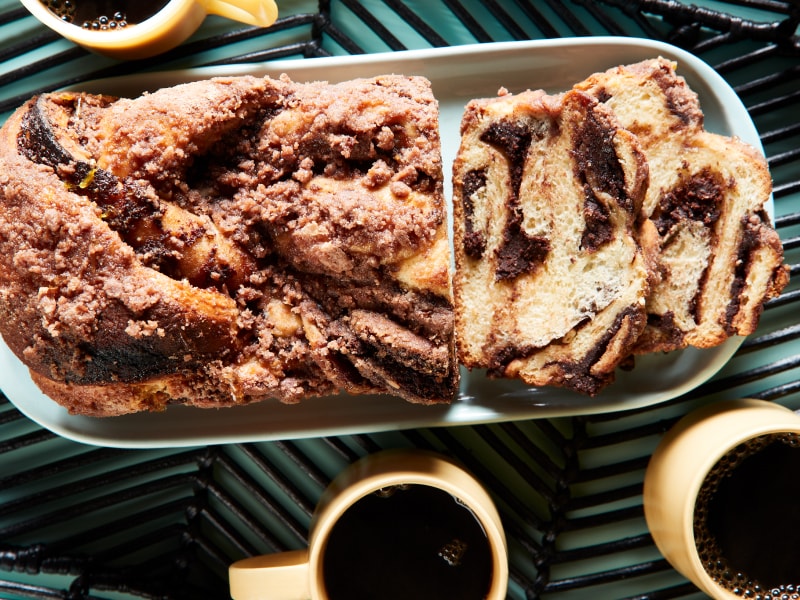
Babka is an enriched yeasted bread. Some consider it a cake, but it is technically a sweet bread thanks to its challah-style base. Some contemporary takes on babka feature savory fillings or reduce the sugar in the challah dough.

What are popular babka fillings?
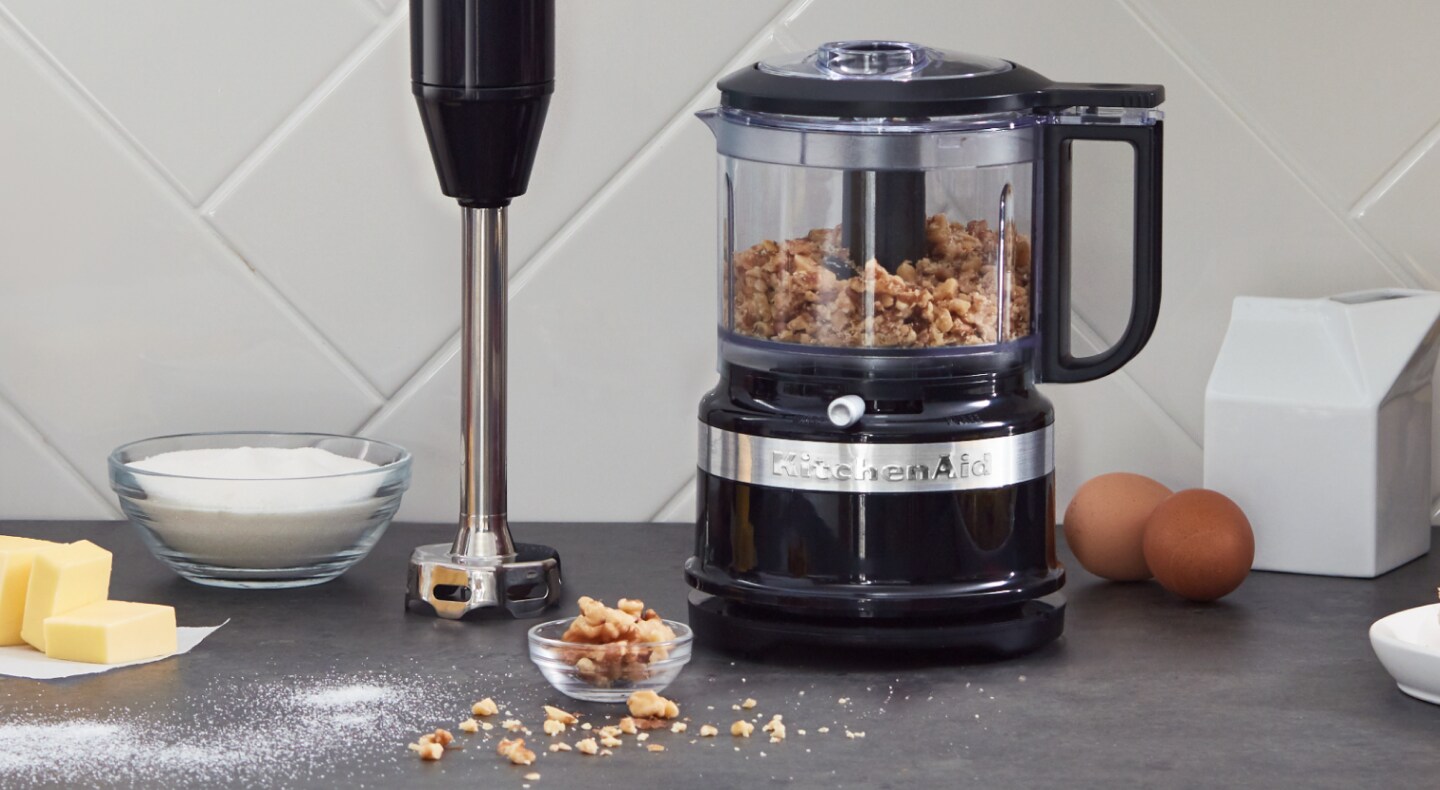
Cinnamon or chocolate fillings are most traditional, but you will also find babkas stuffed with dried fruits, nuts or halva, a delicious Middle Eastern sesame candy. However, if you’re feeling inspired, you can riff on the classic babka dough recipe with savory or sweet fillings to suit your mood. Just be sure to keep your fillings spreadable and chopped small to maintain that signature swirl and texture.
Does babka need to be refrigerated?
Babka doesn’t need to be refrigerated unless it contains cheese or meat. You can store leftover babka in an airtight container or wrapped tightly in plastic at room temperature for up to 5 days. If you have more than you can enjoy in that time, stale babka makes an excellent French toast or bread pudding base.
What do you eat babka with?
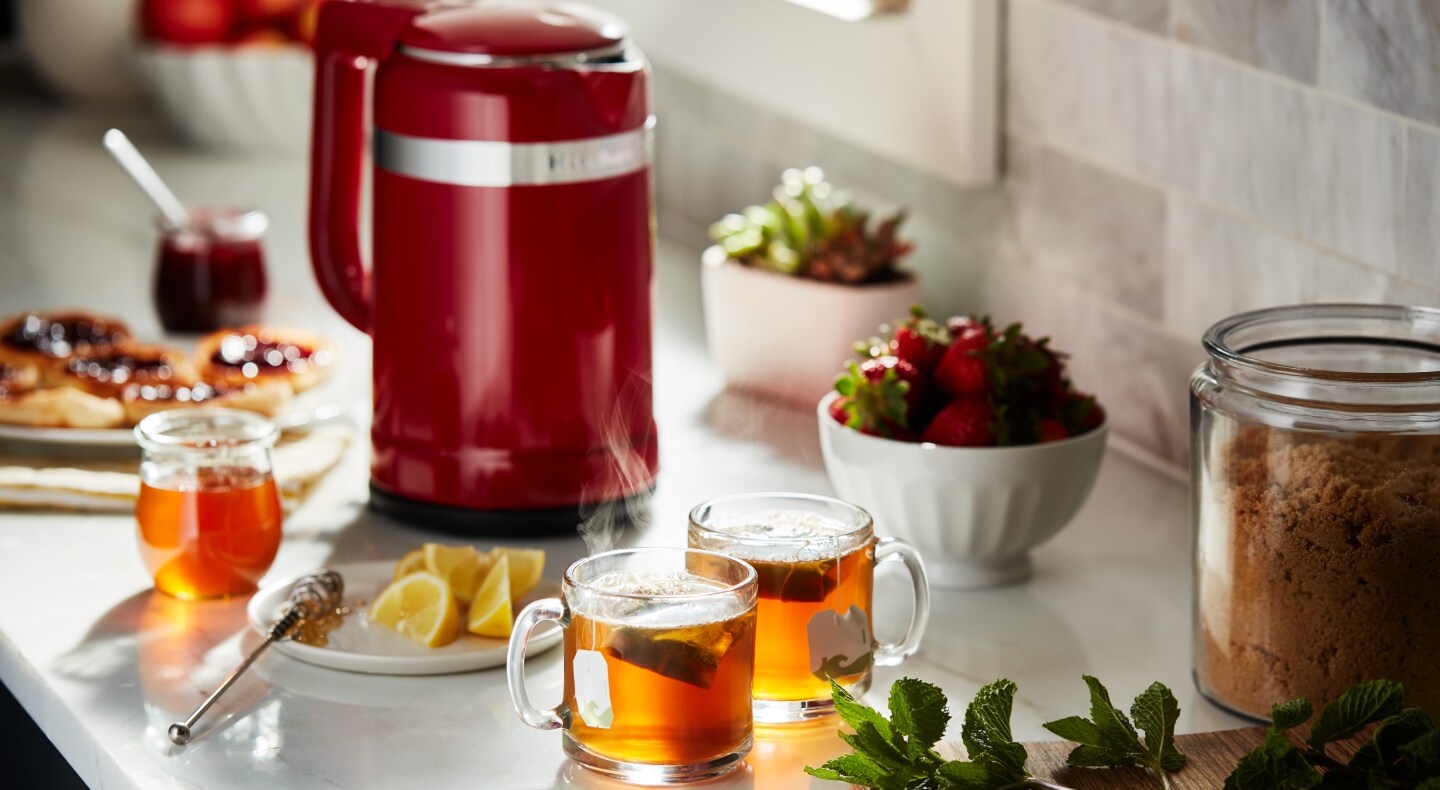
Babka is a natural pairing with coffee or tea, making it a beautiful addition to a breakfast spread, served as dessert, or anytime of day as an indulgent snack. Savory babka can pair well with wine or as an appetizer.
Explore KitchenAid® Stand Mixers
Mix up something amazing with a KitchenAid® stand mixer. Beautiful breads and inventive new ways to use fresh ingredients are in your future thanks to a wide variety of attachments and accessories made to help you further explore your tastes.